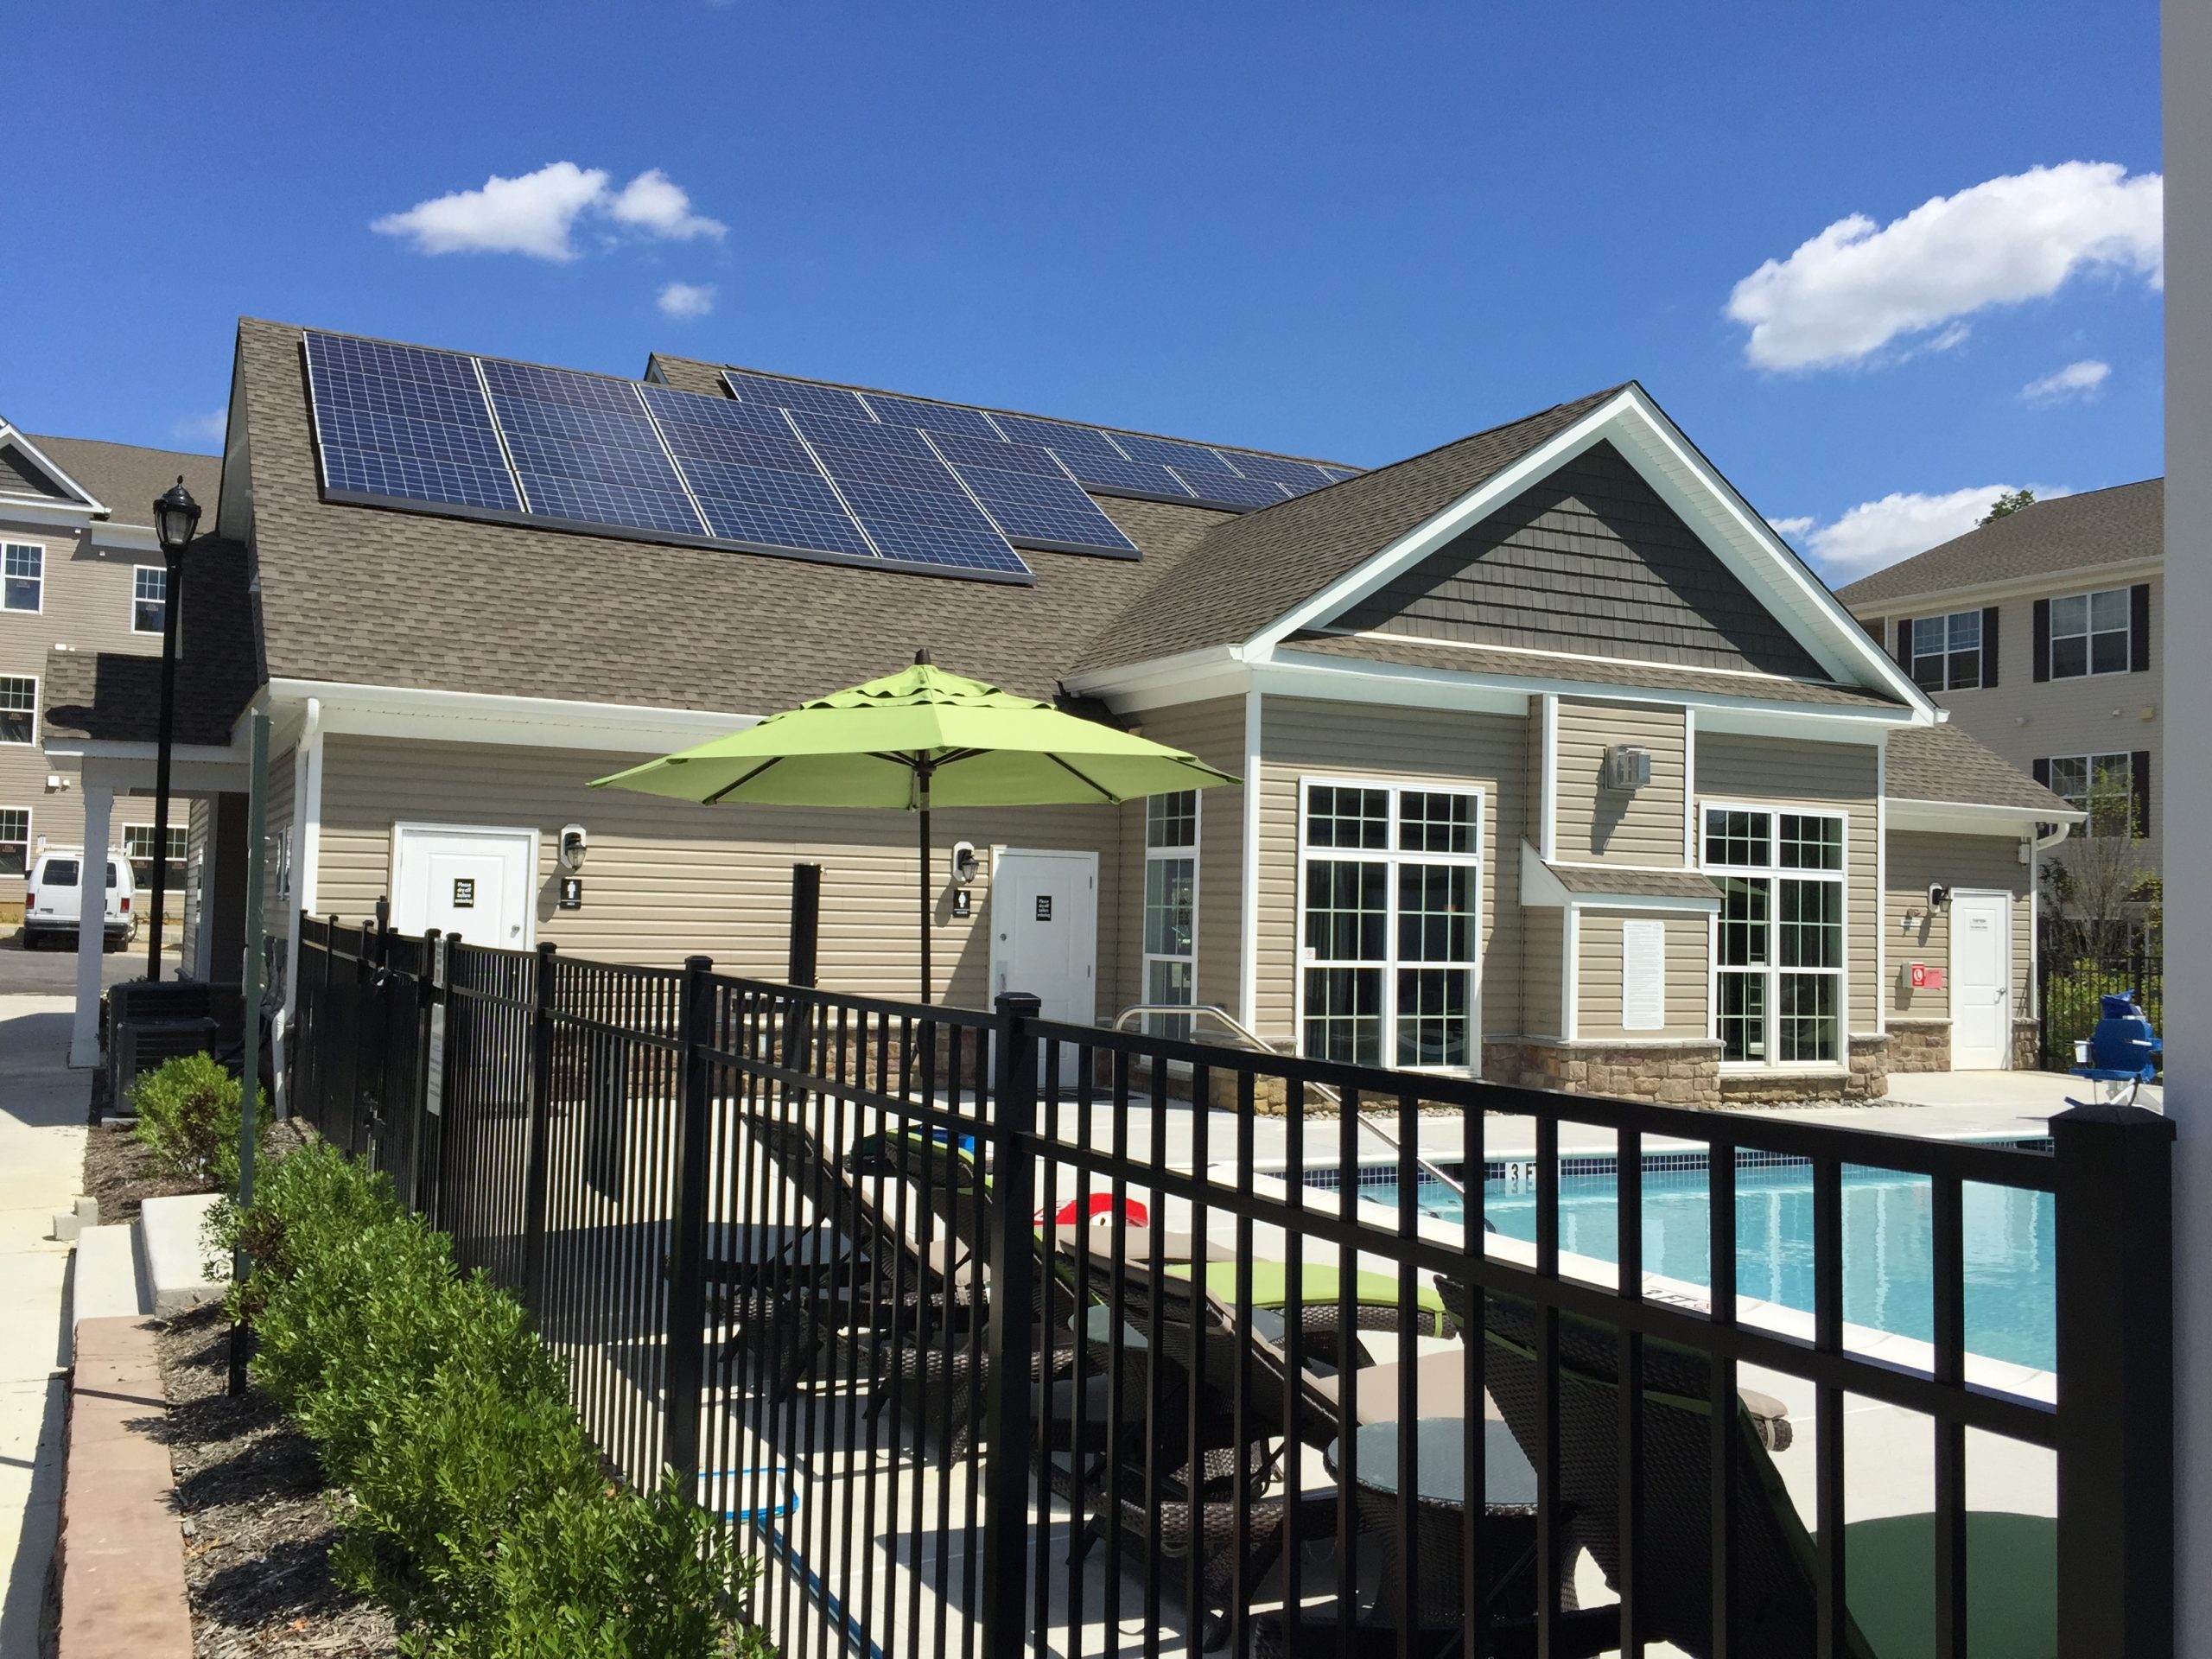
How To Install An Aluminum Fence
Step by Step Instructions on installing an Aluminum Fence
Installing an Aluminum fence offers the Homeowner a maintenance free product. It will provide safety for your children and pets, and increases the property value of your home plus an Aluminum fence offers a more elegant look as apposed to a vinyl or wood fence.
American Discount Fence offers the following tips when deciding to build a fence.
How to Plan
Discuss your plans with any neighbors whose property lies along the proposed fence line. Make sure your fence will be on your property and not encroach onto your neighbor’s yard. Check for areas of your property where your fence may not be installed, i.e. landscape and/or drainage easements.
Before digging, you must call “NJ One Call” (1-800-272-1000). Apply for the proper building permits as directed by your local code.
What is available?
Aluminum fencing comes in various styles, colors and heights of 3ft, 4ft, 54in, 5ft, & 6 ft. Aluminum fences often are used around the perimeter of the property or as a barrier around swimming pools and between property lines. Aluminum fences are generally 4-6 feet tall and may include decorative finials.
Fence Terminology
- Posts consist of 2×2 or 4×4 inch square corners, ends and lines, depending on the style and layout of the fence. They are set into the ground using concrete and provide stability for the fence.
- Posts are usually set approximately 3 feet into the ground for support.
- Line posts are any posts between the corner and end posts. They provide stability and attachment points for the fence sections.
- Rails are the horizontal supports running between posts.
- Section – the space between posts.
- Finials are the decorative part added to the fence to make it look more attractive.
- Gate – the door that provides entry in and out of the fenced area. All containment fences should have gates. Sizes can vary depending on the application. They can be mounted to swing both in or out. Pool codes require gates to open out. Make sure the hardware meets pool code requirements (i.e. self closing hinges and an auto latch to be installed at a height of 54 inches).
Site Layout
Take time to lay out the fence carefully. An incorrect measurement could result in problems later. Make provisions for widths of the fence panels and gates so you will not end up with odd-sized sections that can complicate installation.
To begin your fence installation:
Stake out your fence line from beginning to end including corners and any gates.
Tie a string tautly between terminal post locations. This will define the line along which post will be attached. Be sure to measure your panels before performing the next steps.
Using the same measurement as the length of your sections, stake out the line post locations. Measure on center from each corner post along the layout lines.
Mark each post with a stake. Ensure that the stakes are touching the layout string so the posts will be in line. Remember to take gates into account at this stage.
Digging post holes
Using a post-hole digger or power auger, dig holes 10 inches in diameter. The depth will depend on soil conditions in your area. Consult your local building authorities for specific regulations. A good rule of thumb is to put the post approximately 3 feet into the ground.
Setting posts
- Place posts into hole (use a “post-section” strategy).
- Fill the hole with concrete. A quick- setting variety can be used to speed the process and under normal conditions, quick-setting concrete can be dry poured.
- Tamp the post into the concrete. Backfill soil. Plumb and level post. Install section prior to setting next post.
- Install end and corner posts first. Tie a string between these posts along the fence line. This will establish a reference so you can make sure the line posts are set in line. Check each post to
- make sure it is plumb using a level on two adjacent sides.
- Before the concrete sets, check plumb and alignment again and make any final adjustments.
Installing Post Caps or Finial Caps (if applicable)
Screw caps to posts and repeat for each finial cap.
Installing a gate
The opening for a gate between 2 posts must be 1 ½ to 2 inches wider than the gate itself, based on the hardware being used. Leave 3/4 to 1 inch of space on each side between the gate and the posts to allow for hardware clearance. We suggest using a heavy duty gate post for all gates.
We hope these step by step directions on how to install an Aluminum fence were helpful!
For more information on Aluminum Fencing contact an American Discount Fence Associate.

